Building your own gaming PC is one of the most exciting projects for tech enthusiasts and gamers alike. Not only do you get to personalize your machine according to your preferences, but you can also get superior performance, often at a lower cost than buying a pre-built system. If you’re a beginner and wondering where to start, this step-by-step guide is for you.
1. Set Your Budget
Before diving into the parts of your gaming PC, it’s essential to establish your budget. The price range can vary significantly depending on the level of performance you desire. If you’re aiming for basic gaming, a more affordable budget will suffice. However, if you want to run AAA titles at high settings, you’ll need to invest in more powerful components.
Example budget ranges for different needs:
- Low-end (Casual games and eSports): $500 to $800
- Mid-range (AAA games at medium settings): $800 to $1,200
- High-end (AAA games at ultra settings and streaming): $1,200 or more
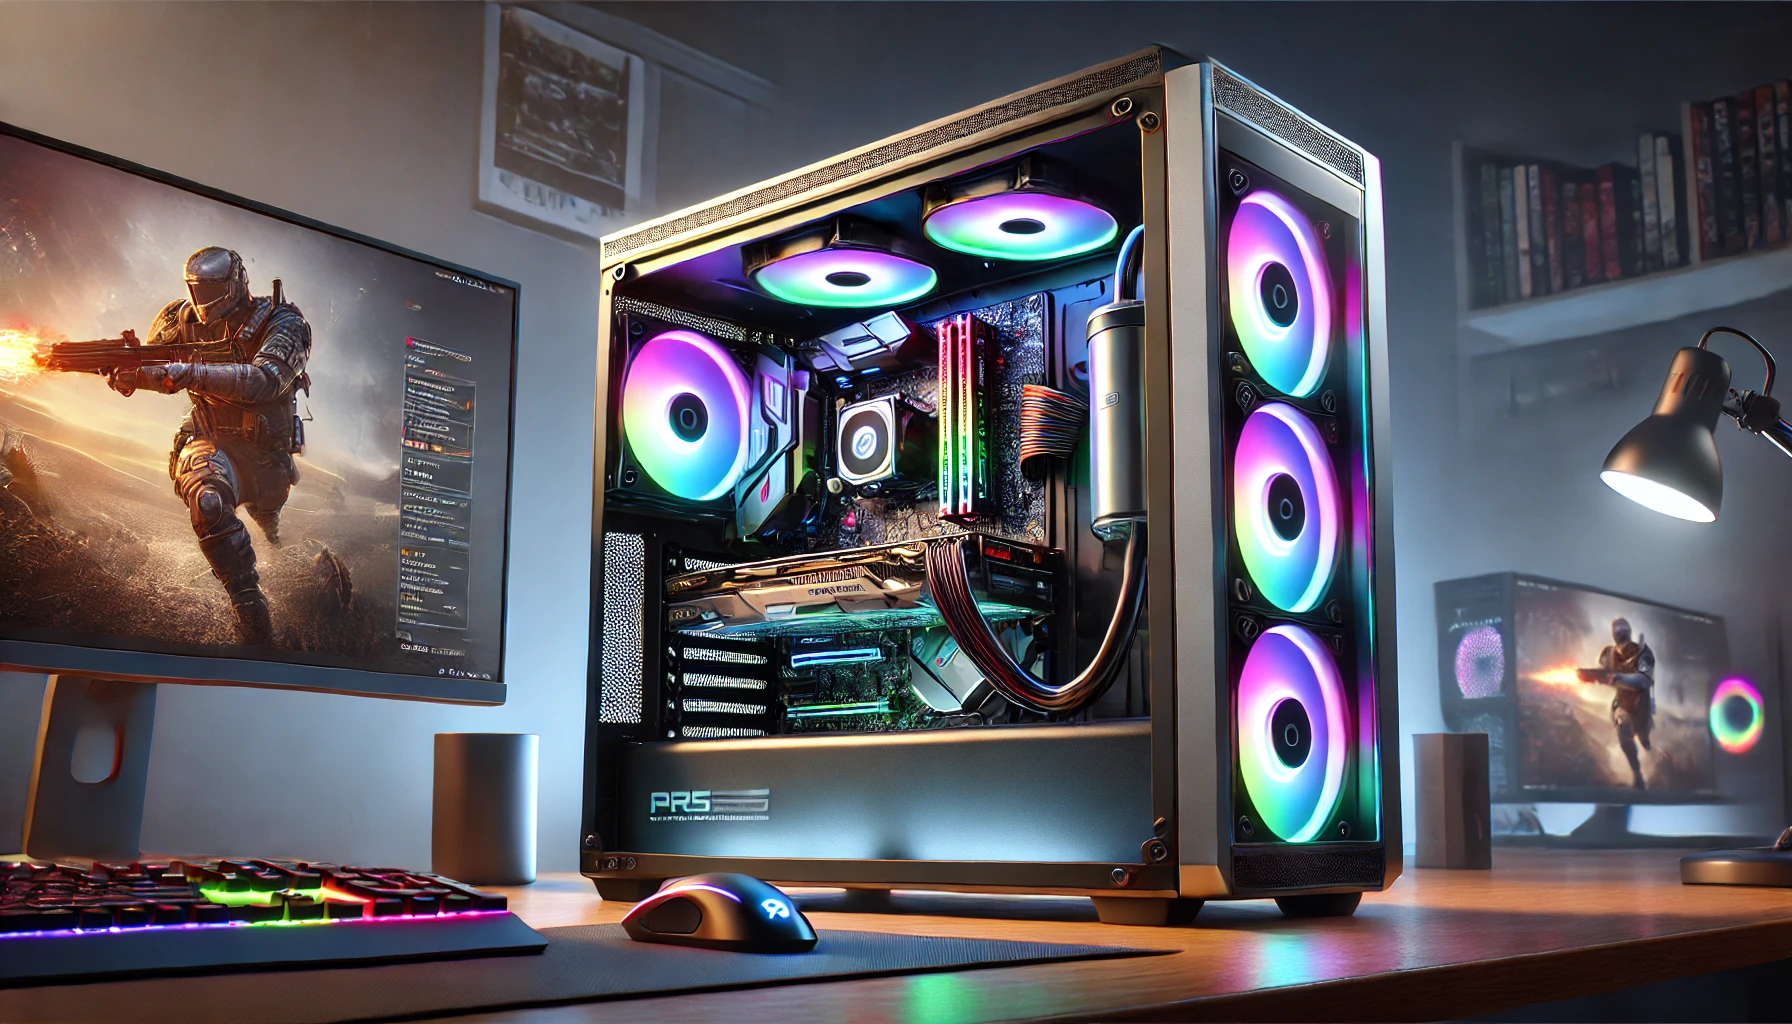
2. Choosing the Essential Components
Building a gaming PC involves selecting components that work well together and offer the best performance. Here are the main components you will need:
2.1. Processor (CPU)
The processor is the brain of your computer. For gaming, it’s important to choose one with a good number of cores and threads. AMD Ryzen and Intel Core processors are popular choices among gamers.
Tip: The AMD Ryzen 5 and Intel Core i5 lines are popular for mid-range builds, while the Ryzen 7 and Intel Core i7/i9 are ideal for those seeking high-end performance.
2.2. Motherboard
The motherboard connects all your components and allows them to communicate with each other. The choice of motherboard depends on your CPU, as it must be compatible with the processor socket.
Tip: For AMD boards, look for chipsets like B550 or X570, and for Intel, choose chipsets like B460, Z490, or higher.
2.3. Graphics Card (GPU)
The GPU is one of the most crucial components for gaming performance. To play demanding games at high settings, invest in cards like the NVIDIA GeForce RTX 3060 or AMD Radeon RX 6700 XT.
Tip: If you’re on a tighter budget, consider options like the NVIDIA GTX 1660 Super or AMD Radeon RX 580, which still deliver a good experience for 1080p gaming.
2.4. RAM
RAM is essential for ensuring your computer can run multiple processes simultaneously without slowing down. For gaming, 16GB of RAM is recommended, with 8GB being the minimum.
Tip: Choose RAM with a speed of 3200 MHz or higher for optimal performance.
2.5. Storage: SSD vs. HDD
SSD (Solid State Drive) offers much faster read and write speeds compared to traditional HDDs. For your operating system and games, an SSD is essential, while an HDD can be used for additional storage.
Tip: A 500GB or 1TB SSD is a good choice for your OS and main games, while a 2TB+ HDD can be used for extra games and files.
2.6. Power Supply (PSU)
The PSU is responsible for delivering power to all the components in your system. To ensure safety and stability, choose a high-quality PSU with enough power to support your components.
Tip: A 650W to 750W PSU is usually sufficient for a mid-range gaming build.
2.7. Cooling System (Fans)
A good cooling system is essential to prevent components from overheating. You can opt for air coolers or liquid cooling systems, depending on your budget and preferences.
Tip: Air cooling is more affordable and effective for most builds, but if you want a cleaner look and higher performance, consider liquid cooling.
2.8. Case
The case houses all of your components. A good case will also provide airflow to help keep components cool.
Tip: Choose a case with good airflow and enough space to accommodate your GPU and other components.
3. Assembling Your PC
Now that you have all your components, it’s time to assemble your gaming PC. Here are the main steps:
3.1. Install the Processor
Start by placing the processor onto the motherboard. Always handle the CPU by the edges, avoiding touching the pins to prevent damage.
3.2. Install the RAM
With the processor in place, install the RAM modules. Make sure to insert them correctly into the slots and lock them in.
3.3. Install the Motherboard into the Case
Place the motherboard into the case, aligning it with the standoffs, and secure it with screws. Ensure all the power cables are connected.
3.4. Install the Graphics Card
With the motherboard in place, install the graphics card into the PCIe x16 slot. Then, connect the power cable from the PSU to the GPU, if necessary.
3.5. Connect Power and Data Cables
Connect all power cables from the PSU to the motherboard and components. Don’t forget to connect the data cables (SATA) to the SSD or HDD.
3.6. Install the Cooling System
Place the fans into the case or install the liquid cooling system as per your choice. Make sure there is proper airflow.
4. First Boot and Settings
Once your PC is assembled, it’s time for the first boot. Ensure everything is installed correctly. Your PC should boot up, and the BIOS will appear for initial settings.
Tip: Update the BIOS if needed and install the chipset, graphics card, and other drivers manually.
5. Installing the Operating System
After the first boot, install the operating system of your choice (e.g., Windows 10/11). Windows will automatically detect most of your components, but be sure to manually install any required drivers.
6. Testing Performance
Once your PC is assembled and the OS is installed, it’s time to test its performance. Download and run games or benchmarks to check how well your system is performing. If everything is working correctly, you’re ready to game!
Final Tips:
- Make sure you have all the necessary tools, such as a screwdriver, before starting.
- Be patient. Building a PC can be a time-consuming task, but the effort is worth it.
- Do thorough research on component compatibility before buying.
Now you have a gaming PC that’s ready to run your favorite games! Remember, PC building is a personalized experience, and there’s always room for upgrades in the future.