Overclocking is a term you may have heard in the world of PC enthusiasts, gamers, and professionals looking to squeeze out every bit of performance from their systems. If you’ve ever wondered how to make your computer faster, overclocking might be the answer. In this article, we’ll explain what overclocking is, why you might want to try it, and how to safely overclock your PC components.
What Is Overclocking?
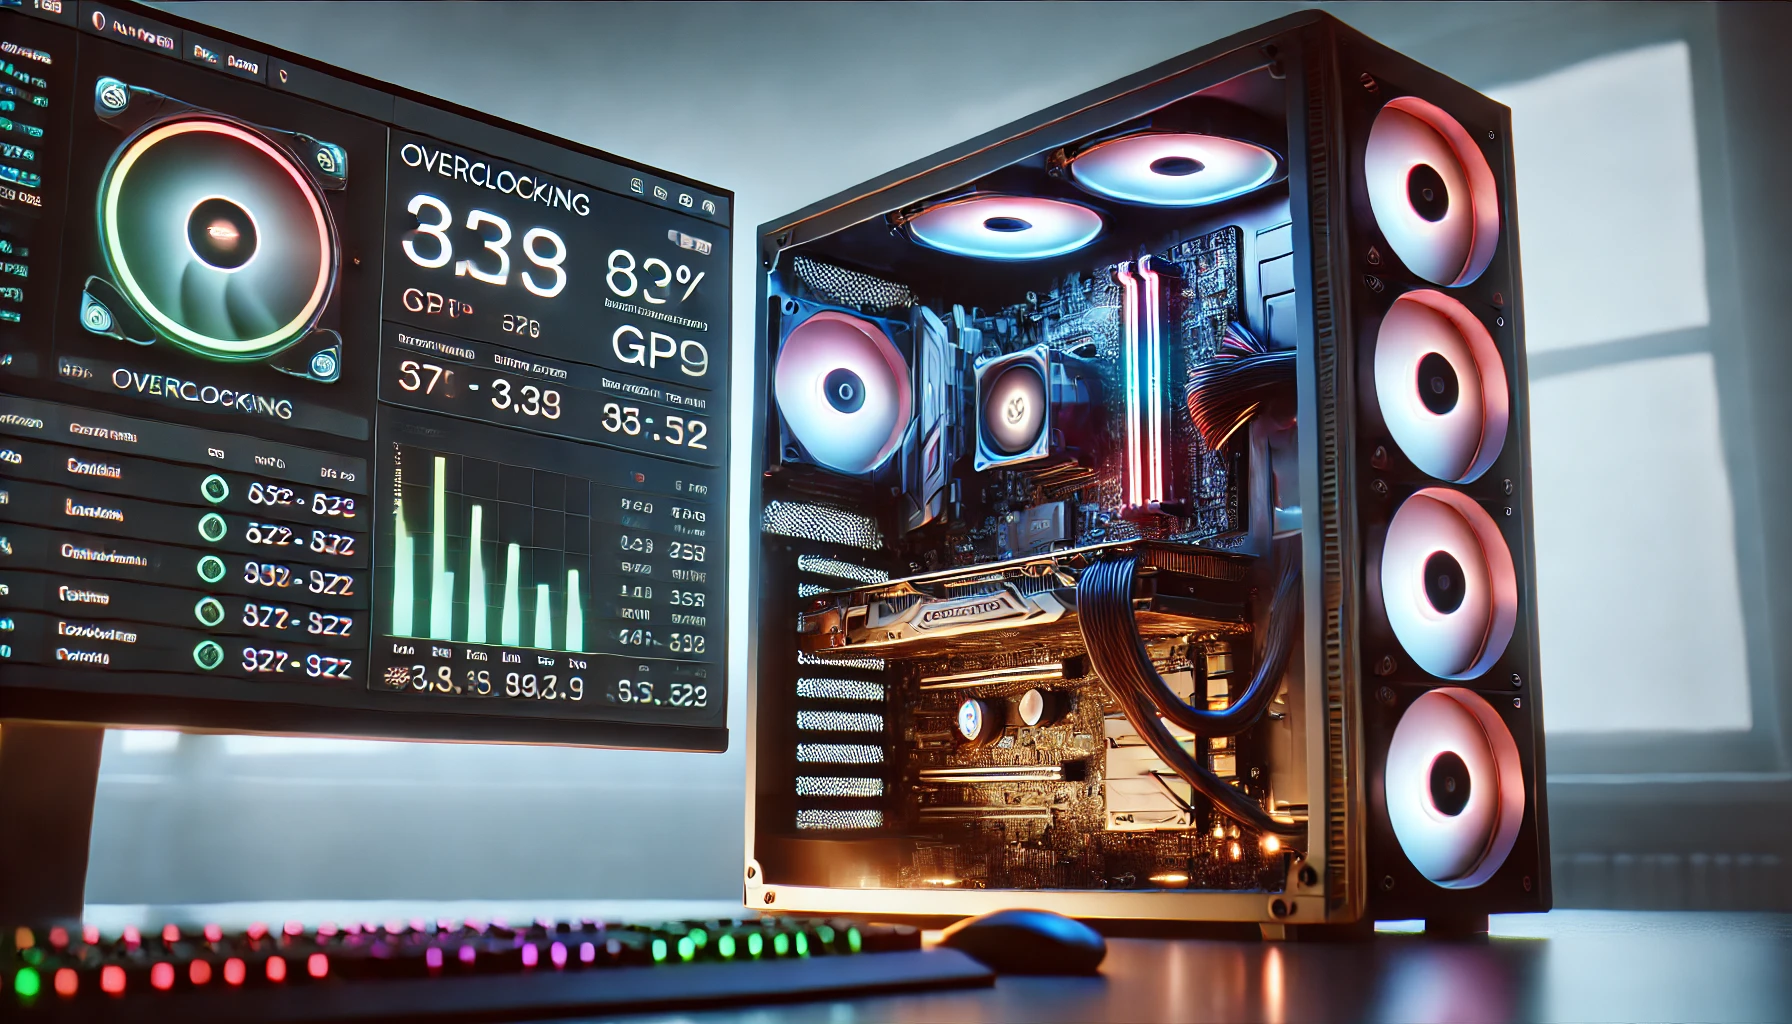
Overclocking refers to the practice of increasing the clock speed of your computer’s components, such as the CPU (Central Processing Unit), GPU (Graphics Processing Unit), and RAM (Random Access Memory), beyond their factory-set specifications. The clock speed is essentially the rate at which these components process instructions, and by increasing it, they can perform tasks faster.
However, overclocking comes with risks, as it generates additional heat and can lead to instability if not done properly. With the right knowledge and tools, though, overclocking can boost your PC’s performance without needing to upgrade your hardware.
Why Should You Overclock Your PC?
Overclocking can offer significant performance improvements for specific tasks, particularly in gaming, video editing, and other resource-intensive applications. Here’s why you might consider overclocking:
1. Better Gaming Performance
For gamers looking to push their frame rates higher or play more demanding titles smoothly, overclocking the CPU or GPU can provide a noticeable improvement. Faster clock speeds translate to faster processing, which can reduce lag and increase your system’s responsiveness.
2. Enhanced Productivity
For tasks like 3D rendering, video editing, or running virtual machines, overclocking can speed up complex calculations and tasks. By pushing your CPU or RAM to higher speeds, you reduce the time it takes to complete projects.
3. Cost-Effective Upgrade
Instead of investing in expensive hardware upgrades like a new CPU or GPU, overclocking offers a relatively cheap way to improve your system’s performance. It’s particularly useful if you have older hardware that is still capable of running at higher speeds with a little tweaking.
Risks of Overclocking
While overclocking can boost performance, it comes with several risks that you should be aware of before diving in:
1. Increased Heat
Overclocking increases the power consumption of your components, which leads to more heat generation. If your cooling system isn’t adequate, this can cause your components to overheat, leading to crashes or permanent damage.
2. System Instability
If you push your hardware too far without proper adjustments or testing, it can lead to crashes, freezes, or even data corruption. Stability is crucial, so it’s important to incrementally test your system’s stability after each change.
3. Void Warranty
Many manufacturers do not support overclocking and may void your warranty if they detect that the hardware has been overclocked. Be sure to check your hardware’s warranty policy before proceeding.
How to Overclock Your PC
Now that you understand the basics, let’s look at how to overclock your PC safely. Overclocking involves tweaking settings in the BIOS or UEFI firmware and sometimes using additional software to control your system. Below is a step-by-step guide for overclocking your CPU, GPU, and RAM.
1. Preparation: Ensure Your System is Ready
Before you begin overclocking, make sure your system is prepared. Here’s what you need to do:
- Update Your Drivers and BIOS: Ensure your motherboard’s BIOS and your drivers are up to date. Sometimes, overclocking options become available with newer BIOS versions.
- Ensure Proper Cooling: Overclocking increases heat, so it’s crucial to have a solid cooling solution. A high-performance air cooler or liquid cooling system for your CPU is recommended. For the GPU, make sure there’s sufficient airflow around your graphics card.
- Benchmark Your System: Run a baseline benchmark test to measure your system’s current performance. Tools like Cinebench, 3DMark, or PCMark can help you get a sense of your starting point.
2. Overclocking Your CPU
Overclocking the CPU is one of the most common and effective ways to boost performance. Here’s how you can do it:
- Enter BIOS/UEFI: Reboot your computer and press the appropriate key (usually DEL or F2) to enter BIOS/UEFI settings.
- Adjust the Multiplier or Clock Ratio: In BIOS, look for the “CPU multiplier” or “CPU ratio” option. Increasing this will raise the CPU’s clock speed. Typically, CPUs have an unlocked multiplier that allows for overclocking.
- Increase the Voltage (Carefully): If the system is unstable after increasing the multiplier, you may need to increase the CPU voltage slightly to maintain stability. Increase the voltage in small increments and monitor the temperature.
- Stability Testing: After making changes, boot into your operating system and run stress tests to ensure the system is stable. Programs like Prime95 or AIDA64 will stress your CPU and help you identify any issues.
3. Overclocking Your GPU
Overclocking the GPU can lead to higher frame rates and smoother gaming experiences. Here’s how to overclock your GPU:
- Use Overclocking Software: Tools like MSI Afterburner, EVGA Precision X, or ASUS GPU Tweak allow you to adjust your GPU’s clock speed and voltage within Windows.
- Increase the Core Clock Speed: Start by increasing the core clock speed of your GPU by small increments (typically 10-20 MHz). After each adjustment, run stress tests or games to check for stability.
- Increase Memory Clock Speed: You can also increase the memory clock speed of the GPU. This can improve performance in memory-intensive tasks, but be cautious as it may cause instability if pushed too far.
- Monitor Temperatures: Keep a close eye on your GPU’s temperature during overclocking. If it exceeds safe limits (usually around 85°C), dial back the overclock or improve cooling.
4. Overclocking Your RAM
Overclocking your RAM can improve system performance, particularly in memory-intensive tasks. Here’s how to do it:
- Enable XMP (Extreme Memory Profile): Many RAM modules come with pre-configured profiles that allow for easy overclocking. In BIOS, enable the XMP profile to automatically set the RAM to higher speeds.
- Manually Adjust RAM Frequency: You can also manually increase the memory frequency (e.g., from 2133 MHz to 3000 MHz) and adjust the timings for better performance.
- Test for Stability: Just like with CPU and GPU overclocking, use stress tests to ensure stability after making changes to the RAM.
5. Monitoring and Fine-Tuning
Throughout the overclocking process, it’s essential to monitor your system’s temperatures, performance, and stability. Tools like HWMonitor, Core Temp, or GPU-Z can give you real-time data on your CPU and GPU temperatures. If your system crashes or shows instability, reduce the overclock or increase cooling.
Conclusion: Overclocking Responsibly
Overclocking can be an excellent way to get more performance out of your PC without spending extra money on new components. However, it requires careful attention to cooling, voltage, and stability. By following the steps outlined in this guide and testing thoroughly, you can safely overclock your system and enjoy enhanced performance.
Remember, overclocking isn’t for everyone. If you’re not comfortable with tweaking settings or monitoring temperatures, it’s better to leave your system running at default speeds. But if you’re looking for an extra performance boost, overclocking is a fun and rewarding challenge!