Building your own PC can be an exciting and rewarding experience. Not only does it allow you to customize your computer to meet your specific needs, but it also helps you learn more about how PCs work. Whether you’re building a gaming rig, a workstation for productivity, or just a computer for everyday tasks, this guide will walk you through the entire process, from choosing components to assembling them.
Why Build Your Own PC?
Building a PC from scratch has several advantages. When you build your own computer, you can:
- Customize it to your needs: You can select components based on your specific requirements. Whether you need top-tier performance for gaming or a budget-friendly setup for basic tasks, building a PC allows you to choose the best components for your purpose.
- Save money: By selecting the parts yourself, you can often save money compared to buying a pre-built system. You also have the option to invest more in the parts that matter most to you, like the CPU or GPU, while saving on others.
- Gain knowledge: Building a PC gives you hands-on experience and a deeper understanding of how computers function. This can be useful for troubleshooting and future upgrades.
Now, let’s dive into the essential steps of building a PC.
Step 1: Choosing the Right Components
Before you start assembling your PC, you’ll need to choose the right components. Here are the key parts you’ll need to purchase:
1. CPU (Central Processing Unit)
The CPU is the brain of your computer. It handles all the processing tasks and plays a critical role in overall performance. When selecting a CPU, consider the following factors:
- Intel vs. AMD: Both Intel and AMD offer high-quality processors, but they each have their strengths. Intel CPUs are known for single-core performance, while AMD’s Ryzen series offers excellent multi-core performance at competitive prices.
- Clock speed and cores: Faster clock speeds generally mean better performance, but the number of cores matters too, especially for tasks like gaming, video editing, or 3D rendering.
2. GPU (Graphics Processing Unit)
If you’re building a gaming or video editing PC, the GPU is a crucial component. It handles all the graphical rendering and is responsible for delivering high-quality visuals. Some key things to look for in a GPU are:
- VRAM (Video RAM): A higher amount of VRAM allows for smoother gaming performance, especially at higher resolutions.
- Brand: Popular brands like NVIDIA and AMD offer GPUs for different price ranges, with NVIDIA’s GeForce and AMD’s Radeon lines being the most common for gaming.
3. Motherboard
The motherboard is where all the components connect. When choosing a motherboard, you’ll need to make sure it’s compatible with your CPU and other parts. Look for the following features:
- Socket type: Ensure the motherboard has the correct socket type for your CPU (e.g., LGA 1200 for Intel or AM4 for AMD).
- Chipset: A motherboard’s chipset affects the features it offers, such as overclocking support and expansion slots.
- Form factor: Motherboards come in different sizes like ATX, microATX, and mini-ITX. Choose one that fits your case and has the required number of expansion slots.
4. RAM (Random Access Memory)
RAM is your computer’s short-term memory. It helps the system store data that’s actively being used. When choosing RAM, consider:
- Capacity: 8GB is the minimum for most users, but 16GB or more is recommended for gaming, content creation, and multitasking.
- Speed: Faster RAM can improve performance, especially in memory-intensive tasks. Look for speeds like DDR4 3200MHz or higher.
- Dual-channel configuration: It’s best to use RAM in pairs (e.g., two 8GB sticks) for better performance.
5. Storage: SSD vs. HDD
You’ll need to choose between an SSD (Solid-State Drive) and an HDD (Hard Disk Drive) for your storage needs. Here’s the difference:
- SSD: Provides faster read and write speeds, leading to quicker boot times and improved performance. SSDs are typically more expensive per GB but are well worth the investment.
- HDD: Offers more storage space at a lower price but is slower compared to an SSD. HDDs are a good option if you need a lot of storage for files and games without breaking the bank.
6. Power Supply (PSU)
The PSU provides power to your components. Choose one with enough wattage to support your build. A good rule of thumb is to have 20-30% more wattage than your system’s requirements to allow for future upgrades. Look for an 80 Plus certified PSU for better energy efficiency and reliability.
7. Case
The case is where all your components will live. It’s important to choose a case that fits your motherboard and has good airflow. Look for:
- Size: Ensure the case is large enough for your components (especially the GPU and cooling systems).
- Airflow: A good case will have multiple fan mounts to ensure optimal airflow and prevent overheating.
8. Cooling System
Proper cooling is essential to prevent your components from overheating. You can choose between air cooling (fans) or liquid cooling (AIO). Liquid cooling is more efficient but can be more expensive and difficult to install.
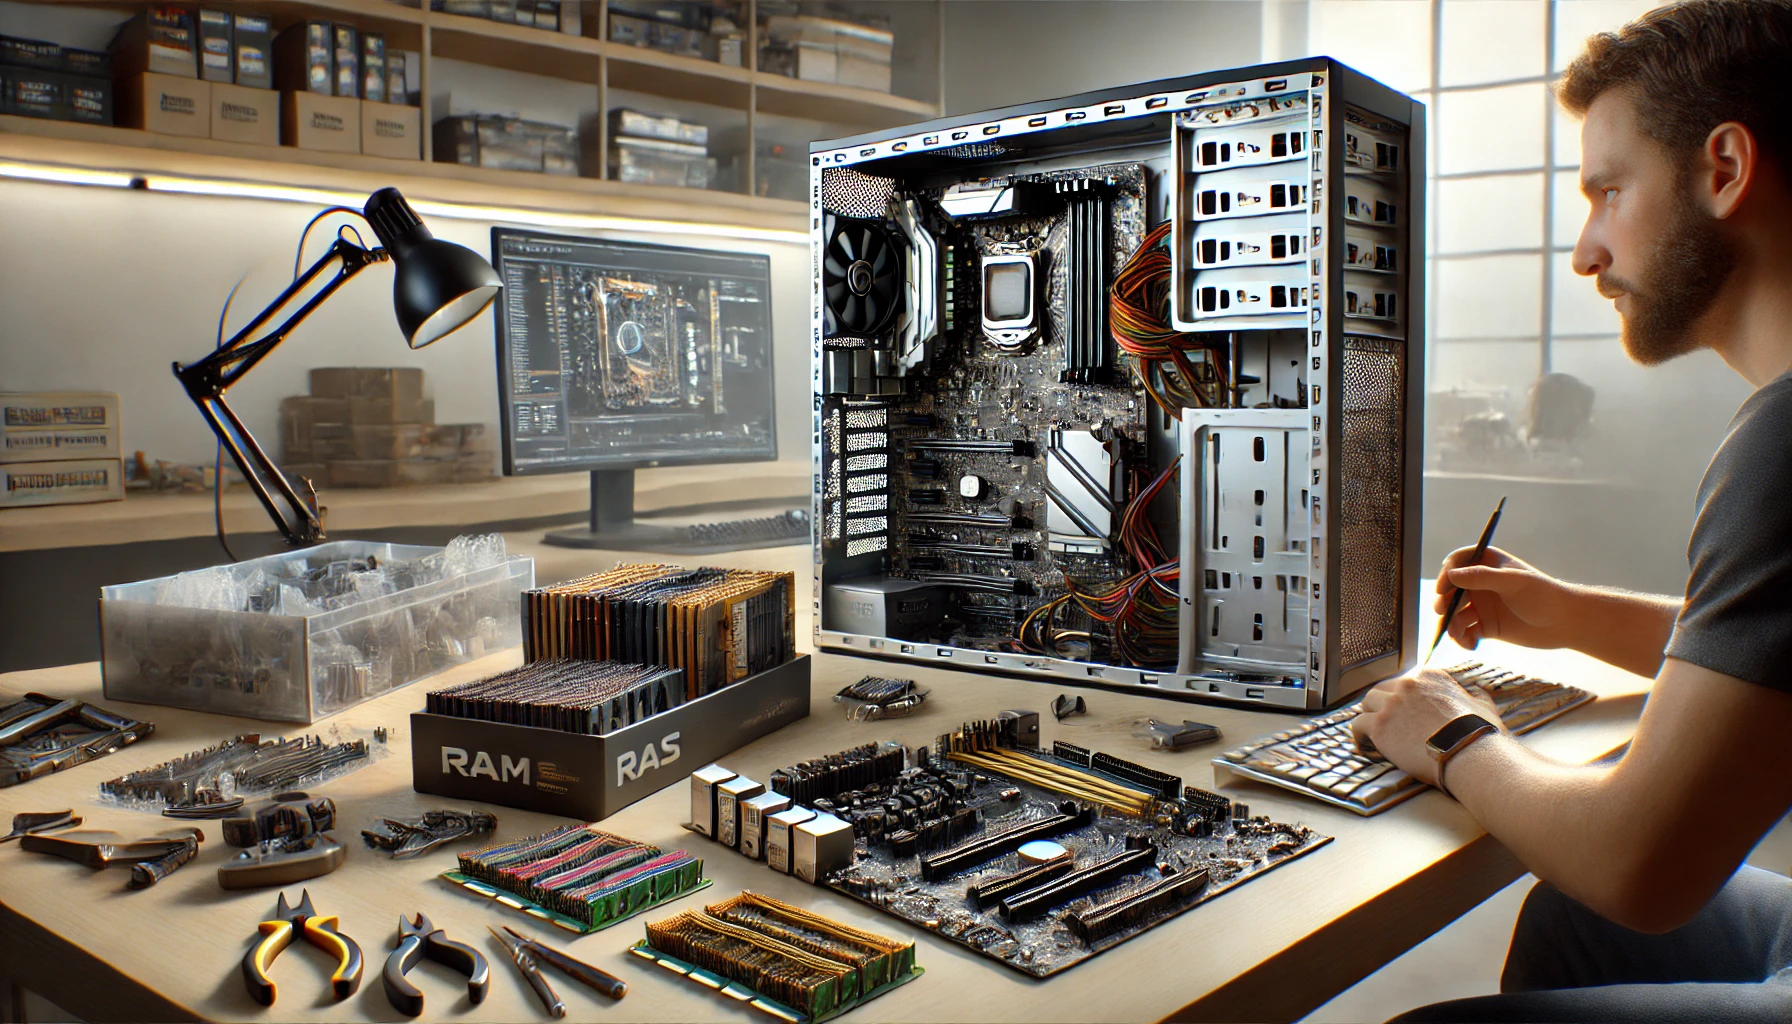
Step 2: Assembling Your PC
Once you’ve gathered all your components, it’s time to assemble your PC. Here’s a step-by-step guide to help you through the process:
- Prepare your workspace: Clear a large, clean area to work in. You’ll also need a few tools, like a screwdriver.
- Install the CPU: Start by installing the CPU onto the motherboard. Carefully align it with the socket and lock it in place.
- Attach the RAM: Insert the RAM sticks into the motherboard’s RAM slots. Make sure they’re securely seated.
- Install the motherboard: Place the motherboard into the case and screw it into place, ensuring it aligns with the case’s standoffs.
- Install the PSU: Place the PSU into its designated area in the case and secure it with screws.
- Install the storage: Mount your SSD or HDD in the appropriate drive bays and connect the necessary power cables.
- Install the GPU: If you have a dedicated GPU, slot it into the PCIe x16 slot on the motherboard and secure it.
- Connect all cables: Connect the power cables to the motherboard, CPU, GPU, and storage. Don’t forget to connect the front panel (power button, USB ports, etc.) to the motherboard.
- Install cooling solutions: If you’re using air cooling, attach the CPU cooler. For liquid cooling, follow the manufacturer’s instructions to install the radiator and pump.
- Final check: Double-check all connections, ensuring everything is properly installed and secured.
Step 3: Booting Up and Installing the Operating System
Once your PC is fully assembled, it’s time to power it on and install the operating system.
- Power on your PC: Press the power button and make sure the system boots up.
- Enter BIOS/UEFI: If the system doesn’t boot automatically, enter the BIOS/UEFI by pressing the appropriate key (usually “Del” or “F2”).
- Install the operating system: Insert a USB drive with your operating system (Windows, Linux, etc.) and follow the on-screen instructions to install it.
- Install drivers: Once the OS is installed, download and install the necessary drivers for your GPU, motherboard, and other components.
Final Thoughts
Building a PC from scratch can seem daunting at first, but with the right components and some patience, it’s an incredibly rewarding process. Not only will you have a customized machine that meets your needs, but you’ll also gain valuable knowledge about how computers work. Plus, the sense of accomplishment when you power up your new PC for the first time is second to none!